Should You Wrap Your Sports Car? Pros and Cons
A vinyl wrap is a popular choice for sports car owners. It provides a way to completely change the vehicle’s appearance without a permanent commitment. Before proceeding, it is important to weigh the good against the bad. A wrap can protect your investment, but a poor-quality job can reduce its value.
Weighing the Decision
| Pros | Cons |
| You can change your car’s color to a unique finish and remove it later to reveal the pristine original paint. | A quality installation from a reputable shop is a significant expense. |
| The vinyl film acts as a barrier, guarding the factory paint against minor rock chips, scratches, and UV fading. | Achieving a flawless finish on a sports car’s complex curves is extremely challenging and time-consuming. |
| Access colors and textures unavailable from the factory, including matte, satin, chrome, and carbon fiber looks. | Wraps are durable but not indestructible. Scratches, bird droppings, and harsh chemicals can damage the film. |
| By preserving the original paint underneath, a wrap can help maintain the car’s value over time. | If low-quality film is used or removal is done incorrectly, it can pull up clear coat or paint, especially on non-factory paint jobs. |
DIY vs. Professional Installation
The fundamental choice you will face is whether to attempt the wrap yourself or to hire a professional. This decision hinges on a realistic evaluation of your budget, your available time, and your personal skill set. A professional job delivers a near-perfect finish with a warranty, while a DIY job offers huge cost savings at the risk of a subpar result.
Are You Ready for a DIY Wrap? A “Go/No-Go” Checklist
Answer these questions honestly before you buy a single roll of vinyl. Answering “no” to any of them suggests that a professional installation is the better path.
- Do you have a large, clean, and well-lit indoor garage? A wrap must be applied in a temperature-controlled, dust-free environment.
- Can you realistically set aside 40 to 70 hours for this project? Wrapping a car is not a single-weekend job; it requires multiple days of focused work.
- Are you a methodical person who pays close attention to detail? Rushing or cutting corners will result in visible flaws like bubbles, wrinkles, and peeling edges.
- Can you afford to buy at least 15% extra vinyl? You will make mistakes on your first attempt, and having extra material is necessary.
- Are you comfortable working in awkward positions for long periods? The process involves a lot of bending, stretching, and applying consistent pressure.
Cost & Time Comparison: DIY vs. Pro
| Factor | DIY | Professional |
| Cost | $700 – $2,000 (Materials & Tools) | $4,000 – $10,000+ |
| Time | 40 – 70+ hours | 3 – 5 days |
| Skill Level | High | Expert |
| Quality of Finish | Variable; depends entirely on your skill and patience. | Guaranteed flawless finish with a warranty. |
Cost estimates are based on 2025 market rates for quality materials and services
Essential Preparation for Wrapping a Sports Car
Professional installers agree that preparation is the most important part of the job. A perfectly applied piece of vinyl will still fail if the surface underneath is not properly prepared. Any shortcuts taken here will show in the final product.
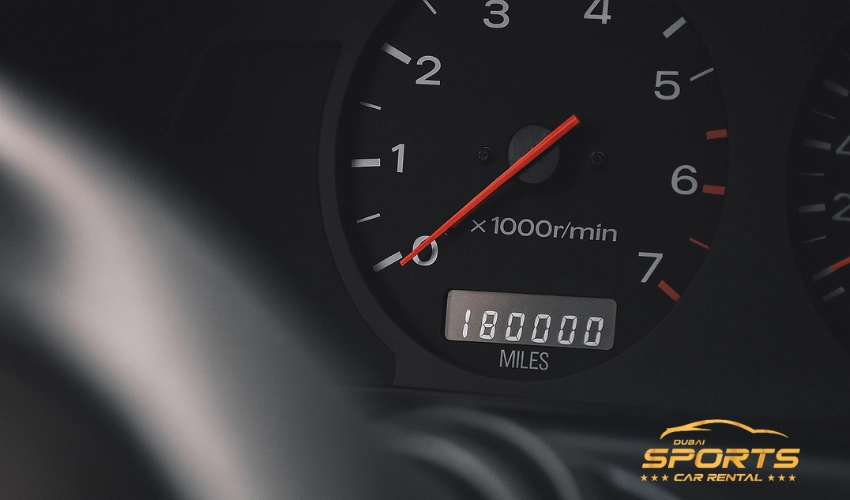
Step 1: Conduct a Pre-Wrap Paint Assessment
Vinyl film is incredibly thin and will magnify any surface imperfections, not hide them. Before you wash the car, run your hand over every panel to feel for flaws. You must professionally repair any of the following issues before wrapping:
- Peeling or failing clear coat
- Deep scratches or rock chips that you can feel with a fingernail
- Areas of rust or bubbling paint
- Poorly repaired body damage
Wrapping over these problems will look terrible and will likely cause the paint to be pulled off during a future removal.
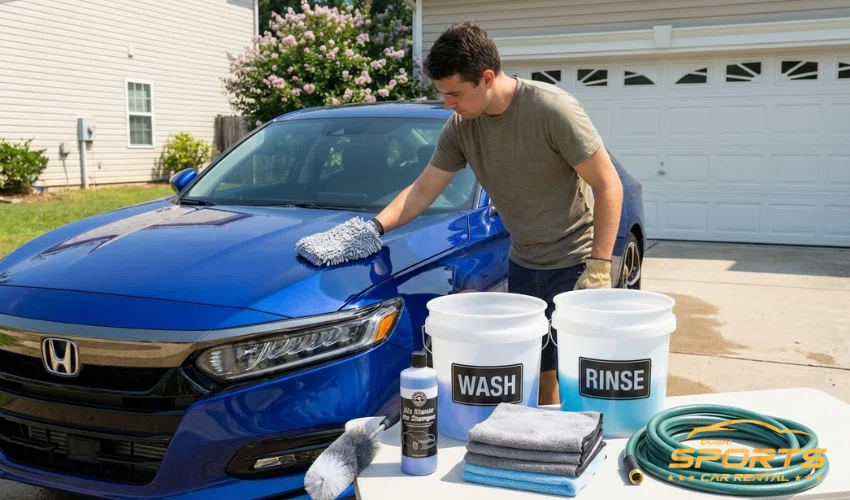
Step 2: Perform a Decontaminating Deep Clean
The car must be surgically clean. Any speck of dust, wax, or oil will prevent the vinyl from adhering correctly and will create a visible bump under the film.
- Wash: Use a two-bucket hand wash method with a pH-neutral soap.
- Decontaminate: Use an iron remover spray to dissolve bonded metal particles from the paint. You will see the product change color as it works.
- Clay Bar: After rinsing the iron remover, use a clay bar with a lubricant to pull any remaining embedded contaminants from the clear coat. The paint should feel as smooth as glass.
- Final Wipe: Just before applying vinyl to a panel, wipe it down with a 70% isopropyl alcohol (IPA) solution to remove any final traces of oil or fingerprints.
Step 3: Plan for Strategic Disassembly
For a truly professional look, you must wrap around edges, not cut at them. This requires removing certain parts from the car. The complexity of this step is one reason why sports cars are so challenging. Common parts to remove include:
- Door handles
- Side mirrors
- Badges and emblems
- Headlights and taillights
- Antennas
If you are not comfortable disassembling parts of your car, a professional car wrapping installation is strongly recommended.
Tools and Materials for Wrapping a Sports Car
Using high-quality materials and the right tools is non-negotiable. Cheap, off-brand vinyl is harder to work with and fails much faster. Reputable brands like 3M, Avery Dennison, and KPMF offer cast vinyl films that are more durable and conformable than cheaper calendared films.
Vinyl Wrap Finish Comparison
| Finish Type | Installation Difficulty | Durability & Scratch Resistance |
| Gloss | Medium | Good |
| Satin | Easy | Excellent |
| Matte | Medium | Poor |
| Chrome | Very Hard | Very Poor |
| Textured/CF | Hard | Excellent |
The Wrapper’s Tool Kit
| Essential Tools | Recommended Additions |
| Quality Cast Vinyl (55-70 ft. roll) | Wrap Gloves (reduce fingerprints) |
| Squeegees with Felt Buffers | Application Magnets (to hold vinyl) |
| Variable Temperature Heat Gun | Infrared (IR) Thermometer |
| Knifeless Tape (Finish Line) | Plastic Trim Removal Tools |
| Precision Knife (30-degree blades) | |
| 70% Isopropyl Alcohol | |
| Microfiber Towels | |
| Measuring Tape |
The Wrapping Process: A Step-by-Step Guide

With the car prepped and your tools ready, you can begin the application process. Work on one panel at a time, from start to finish.
Step 4: Measuring and Cutting the Vinyl
Measure the panel you are about to wrap (e.g., the hood). Add at least 4-6 inches of excess vinyl to every side before you cut. This extra material gives you room to hold and stretch the film without touching the adhesive.
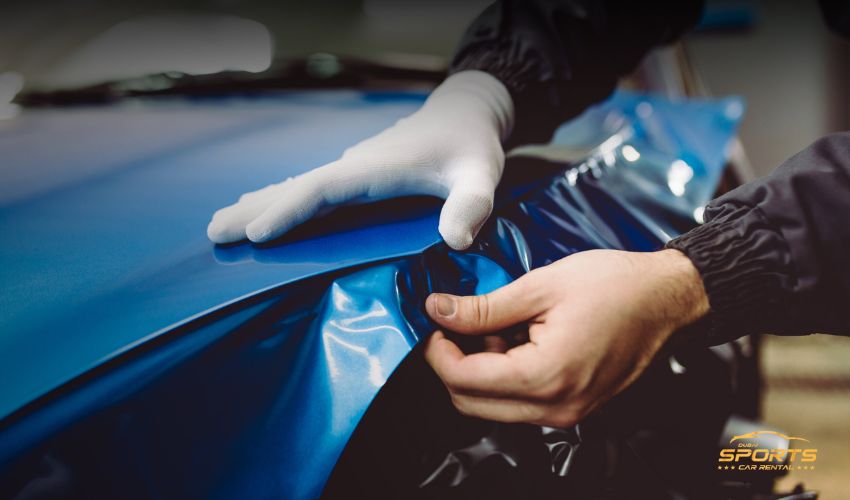
Step 5: Applying and “Glassing Out” Panels
Peel the backing paper away and carefully lay the vinyl over the panel. Use magnets to hold it in place. The “glassing” technique involves creating tension across the panel. Gently pull the vinyl from opposite corners until it floats smoothly just above the surface. This reduces the work your squeegee has to do.
Step 6: Squeegee Technique and Reading the Film
Start in the center of the panel and work your way out. Use firm, overlapping strokes with your squeegee at a 45-degree angle. Let the squeegee do the work. Pay attention to how the vinyl is behaving. If you see a potential wrinkle forming, do not try to force it down. Lift the vinyl carefully, apply a little heat if needed, and lay it down again.
Step 7: Using Heat on Curves and Recesses
This is the most critical skill for wrapping a sports car. Heat makes the vinyl pliable so it can stretch into concave areas and around convex curves. However, too much heat will “burn” the film, destroying its finish and adhesive.
Use an IR thermometer to ensure you are working within the manufacturer’s suggested range. For most cast films, this means heating the vinyl to 80°C–100°C (180°F–210°F) to make it conformable. Let it cool before applying pressure with the squeegee.
Step 8: Trimming Edges with Knifeless Tape
For safe, perfect cuts directly on the car’s surface, use knifeless tape. Lay the tape down along the line you want to cut before applying the vinyl. Once the vinyl is applied over it, you simply pull the filament up through the vinyl to create a perfect edge. For final trimming, use a sharp 30-degree blade and always angle it away from the paint. Leave about a quarter-inch of excess material to tuck around the edge of the panel.
Step 9: Post-Heating and Reassembly
Post-heating locks the vinyl’s “memory” and prevents it from shrinking back to its original flat shape, which causes lifting and peeling. Every single edge and stretched area of the wrap must be heated to its final post-heat temperature, typically 90°C–95°C (195°F–205°F). Use your IR thermometer to verify temperatures. Once every panel is done and post-heated, you can carefully reassemble the parts you removed.
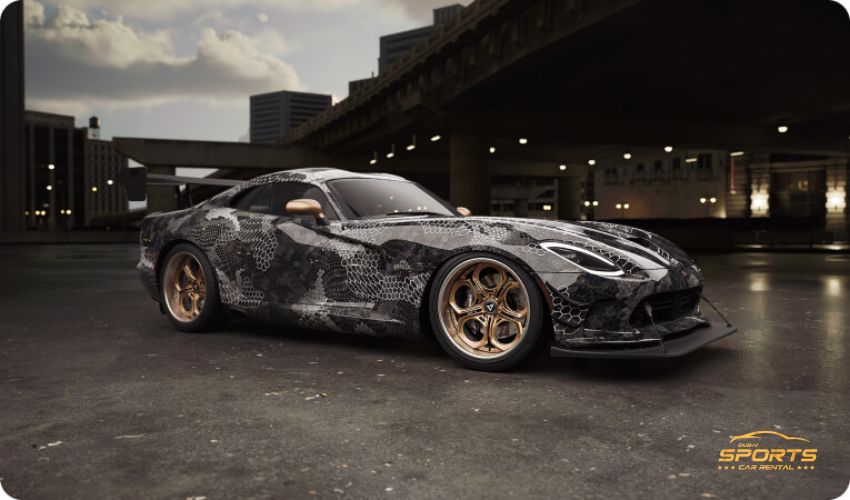
Special Challenge: Wrapping Sports Car Aerodynamics
Sports cars are defined by their aggressive body lines, which present unique wrapping challenges.
- Complex Curves & Vents: For extremely deep recesses, like functional fender vents, do not try to stretch one piece of vinyl into the hole. This will overstretch the film and cause it to fail. The professional solution is to use an “inlay” by applying a separate piece inside the recess first.
- Spoilers & Wings: These should always be removed and wrapped off the car. Treat them as their own multi-part projects, often requiring several pieces of vinyl and carefully hidden seams.
- Splitters & Diffusers: These parts have sharp angles and tight spaces. They demand patience and may require multiple relief cuts to allow the vinyl to conform without tension.
How to Identify a Poor-Quality Wrap Job
Whether you are inspecting a shop’s work or judging your own, here are the tell-tale signs of a rushed or amateur job.
Red Flag Checklist
- Bubbles or Lifting: Any visible air bubbles or areas where the film is pulling up, especially around edges and in corners.
- Visible Seams in Obvious Places: On a quality wrap, any necessary seams are hidden inside body panel gaps or in inconspicuous areas.
- Overstretched/Discolored Vinyl: Look at the deepest curves. If the vinyl looks faded, has a different gloss level, or appears distorted, it was overheated and overstretched.
- Wrinkles in Corners: Bunched-up material in corners or complex areas is a clear sign of a lazy application.
- Knife Marks: Carefully check the paint next to the wrap’s edges. Any visible score marks in the clear coat mean the installer used a knife directly on the paint, a major mistake.
- Misaligned Patterns: For carbon fiber or other printed wraps, the pattern should flow cleanly from one panel to the next.
Long-Term Care for Your Wrapped Sports Car
Proper care is essential to maximize the life of your wrap. A well-maintained wrap from a premium brand can last 5 to 7 years.
Wrap Maintenance Dos and Don’ts
| Do | Don’t |
| Hand wash only using the two-bucket method. | Use an automatic car wash, especially those with brushes. |
| Use pH-neutral soaps and specialty wrap care products. | Apply traditional carnauba wax, which can cause blotchiness. |
| Clean bird droppings, fuel spills, and bugs immediately. | Use a pressure washer closer than 12 inches or aim it at edges. |
| Use specific cleaners for matte/satin finishes to avoid adding shine. | Polish or buff the wrap, as this will damage the finish. |
A Final Word of Caution
The final quality of a vehicle wrap is a direct reflection of the installer’s patience. On a sports car, every line is sharp and every panel is on display, meaning imperfections are highly visible. The single biggest difference between an amateur and a professional result is the willingness to accept a mistake, lift the vinyl, and start the panel over again. Trying to “fix” a large wrinkle or bubble after the fact rarely works. Rushing the process is the absolute enemy of a good wrap.
FAQs: Wrap a Sports Car
How long does a vinyl wrap last on a sports car?
With quality materials (like 3M or Avery Dennison) and proper care, a wrap can last between 5 and 7 years. Exposure to harsh sun and weather can shorten this lifespan.
Does a wrap damage the car’s paint?
No, a quality vinyl wrap applied to factory OEM paint will not cause damage. In fact, it protects it. However, if a car has been repainted or has a poor-quality clear coat, the wrap can pull up the paint during removal.
Can you wrap a leased sports car?
Generally, yes. Since a wrap is completely reversible, it is a popular option for leased vehicles. However, you should always review your specific lease agreement to be certain.
How much vinyl is needed for a sports car?
This varies by the car’s size and complexity. A Porsche 911 requires about 23-24 yards (69-72 feet), while a larger car may need more. Always buy a 60-inch wide roll and get about 15-20% more material than you estimate to account for mistakes.